Lighting, Water, and Vertex Editing
| Tutorial: Lighting, Water, and Vertex Editing Prepared by trigger. |
NOTE: This tutorial was originally posted on redtechnologies, which is no longer available.
Adding some Lighting.
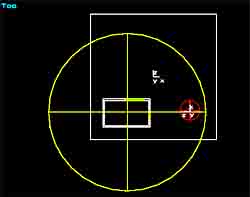
Now you will add some basic lighting to the map. Go to Object mode (Shift + O), and move the Free Look camera above the building. Double click "Light" in the object list on the left. If you zoom out a little in the Free Look viewport, you'll see the light you just placed. It will still be selected, so you can edit its properties now. Press Ctrl + P to access the properties. Change its range to 35, and deselect the "Shadow Casting" Light Flag. Click OK. Position the light around 2 meters from the ceiling.
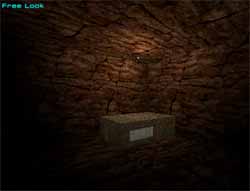
To see what the light looks like, you have to calculate maps and lighting. There is a bug in the RED editor and the only way to calculate the lights and maps is by this process. Hiding all the objects, showing all the objects, then calculating the lights and maps. This can be done with the following hotkeys; W, Shift + W, L, Shift + L.
Well that puts a different perspective on things.
Save (Ctrl + S).
Adding some Water with Room Effects and Vertex Editing.
Now you can add a swimming hole to your level. Swimming hole you say, hey, this is only a tutorial.
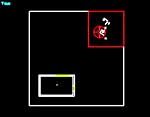
Go back to Brush mode (Shift + B). Make sure your blue brush cutter is visible. Select an air type brush and the box shape. Give the box the following dimensions; H=8, W=15, D=15 and move it to the far top right corner in the top viewport. Make sure the top of the new box is in line with the ground of the main building brush. Use the Left or Front viewports. Zoom in to make sure. Create the brush and make it a portal (Ctrl + P and then select the portal flag).
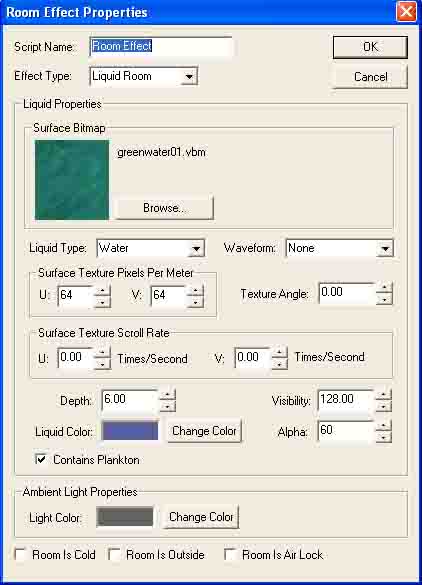
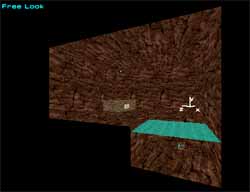
In the Free Look viewport go into the room you have just created. Now, go into Object mode (Shift + O). Make sure you are in the room beneath the ground, then double click on Room Effect. Immediately press Ctrl + P to bring up the properties for the Room Effect. See the picture below. Change the Effect Type to Liquid Room, the Liquid Type to Water, and the depth to 6m and have the Contains Plankton flag ticked. Click OK. Your water should now be there. If not Build (Spacebar) the level.
Now texture the walls of the swimming hole. Texture mode (Shift + T), select all the faces (Shift + S), and though not imperative, use the texture that was applied to the walls of the main room. An easy way to find that texture within Texture mode is to; click on one of the walls with that texture already applied to it and press the Pick Texture button. The texture should now appear in the left hand side menu. Then you can apply it. The texture may need to be scaled so that it matches the texture on the walls of the main room. This can be done by selecting all the faces of the swimming hole and then pressing S + the up/down arrows. Press the up/down arrow once as the level may need to be rebuilt (Spacebar) before you can see the changes. You'll get the hang of it pretty quickly.
Save (Ctrl + S).
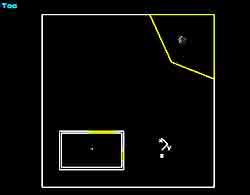
Now the square swimming hole does not look very 'natural'. Lets edit it with the Vertex editor. Go into Vertex mode (Shift + V). In the Top viewport, click and drag around the point of the square that is exposed, ie not against a wall. The vertex will change colour from light blue to red. With your grid size set to 1m press down on the M key and at the same time press the up arrow 4 times and then while holding down the M key press the right arrow 5 times. This should have changed the shape of the swimming hole. Build (Spacebar) your level.
Calculate the lighting and maps (w, Shift + W, L, Shift + L), Save (Ctrl + S), Create a Level Packfile (Alt + F then L). Go for a swim (F7).
